
Biscoff Salted Caramel Cheesecake Recipe
Introduction
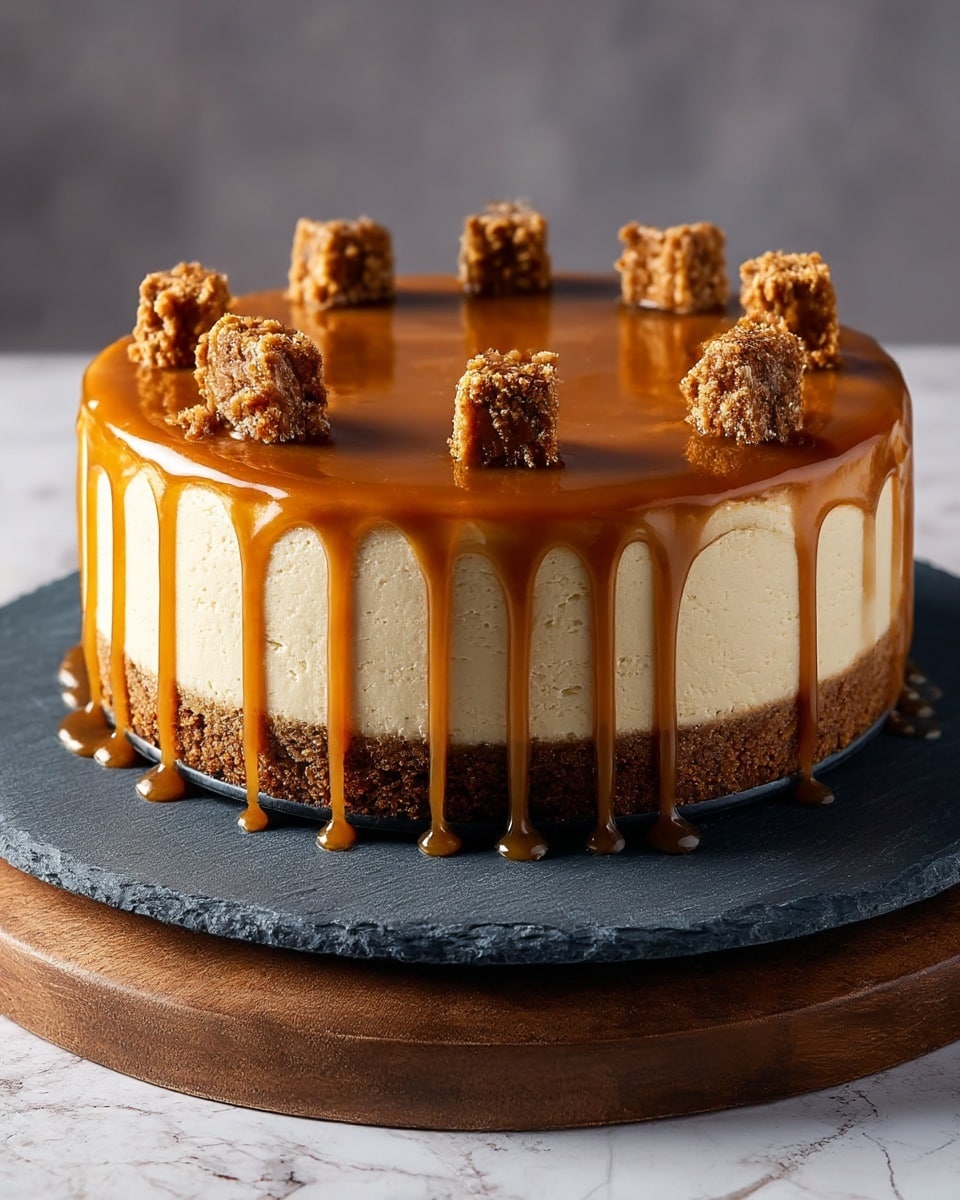
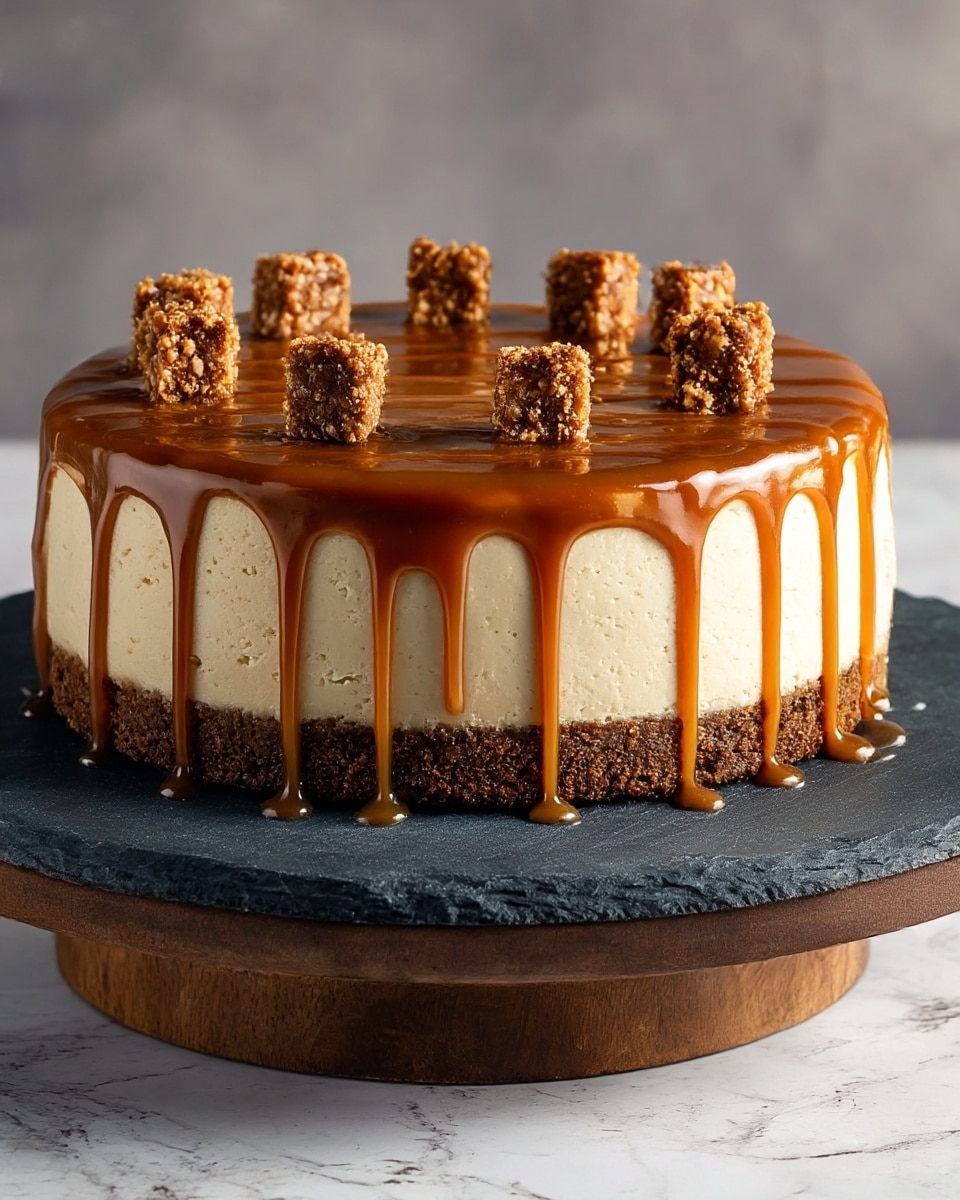
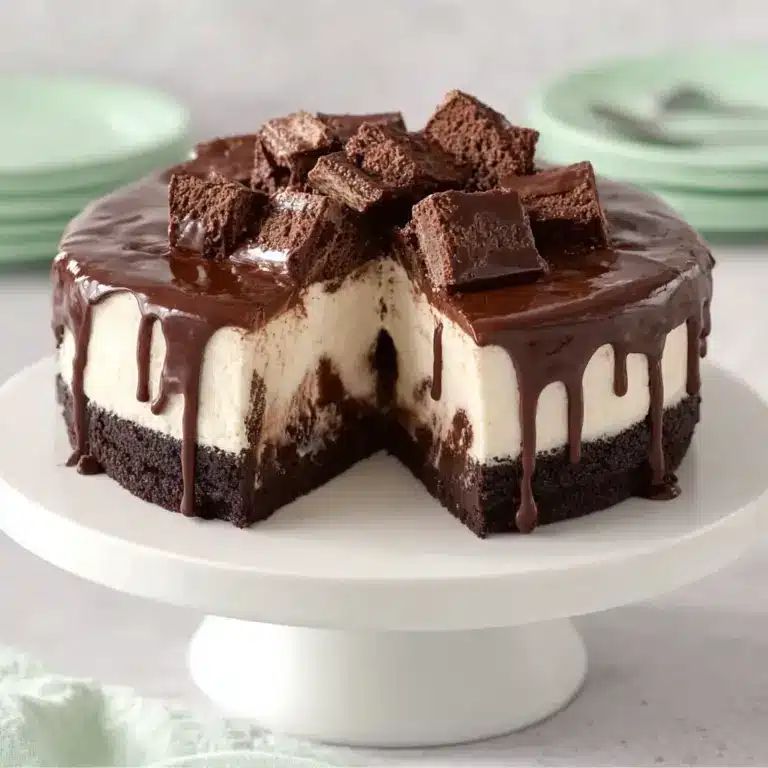
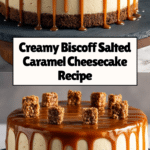
This Biscoff Salted Caramel Cheesecake is a decadent dessert combining the warm spice of Lotus Biscoff cookies with a smooth, creamy cheesecake and a luscious salted caramel topping. Perfect for special occasions or whenever you want to impress with minimal effort.
Ingredients
- 2 packages Lotus Biscoff cookies
- 24 oz full-fat cream cheese, softened
- 1 cup granulated sugar
- 3 large eggs, room temperature
- 1 cup heavy cream
- 1 tsp pure vanilla extract
- 1 jar store-bought salted caramel sauce (or homemade)
- Optional: 1/4 cup Lotus Biscoff spread
- Additional butter for crust binding (approximately 6 tbsp, melted; not listed above but recommended)
Instructions
- Step 1: Preheat your oven to 175°C (350°F). Line the bottom of a 23cm (9-inch) springform pan with parchment paper and wrap the outside tightly with two layers of foil to prevent leaks. Finely crush one package of Biscoff cookies and mix the crumbs with melted butter to bind. Press this mixture firmly onto the bottom and slightly up the sides of the pan. Bake for 8-10 minutes until lightly golden, then reduce the oven temperature to 160°C (325°F).
- Step 2: If using, prepare a water bath by placing the foil-wrapped pan into a larger roasting pan. In a stand mixer, beat the softened cream cheese for 2-3 minutes until smooth. Gradually add the sugar, beating until light and fluffy. Lower the speed and add the eggs one at a time, mixing just until incorporated. Fold in heavy cream, vanilla extract, and optional Biscoff spread gently until combined. Pour the filling onto the pre-baked crust and tap the pan gently to remove air bubbles.
- Step 3: Pour hot water into the roasting pan so it reaches halfway up the sides of the springform pan. Bake for 60-80 minutes, until the edges are set but the center still jiggles slightly (about 2-3 inches). Turn off the oven and leave the cheesecake inside with the door slightly open for 1 hour. Remove from the water bath, unwrap the foil, and cool completely on a wire rack (2-3 hours).
- Step 4: Chill the cheesecake in the refrigerator for at least 6-8 hours or overnight to set fully.
- Step 5: If using store-bought salted caramel sauce, warm slightly for easier drizzling. For homemade salted caramel, cook sugar and water until amber, then whisk in warmed heavy cream, butter, and salt until smooth. Let cool to a pourable consistency.
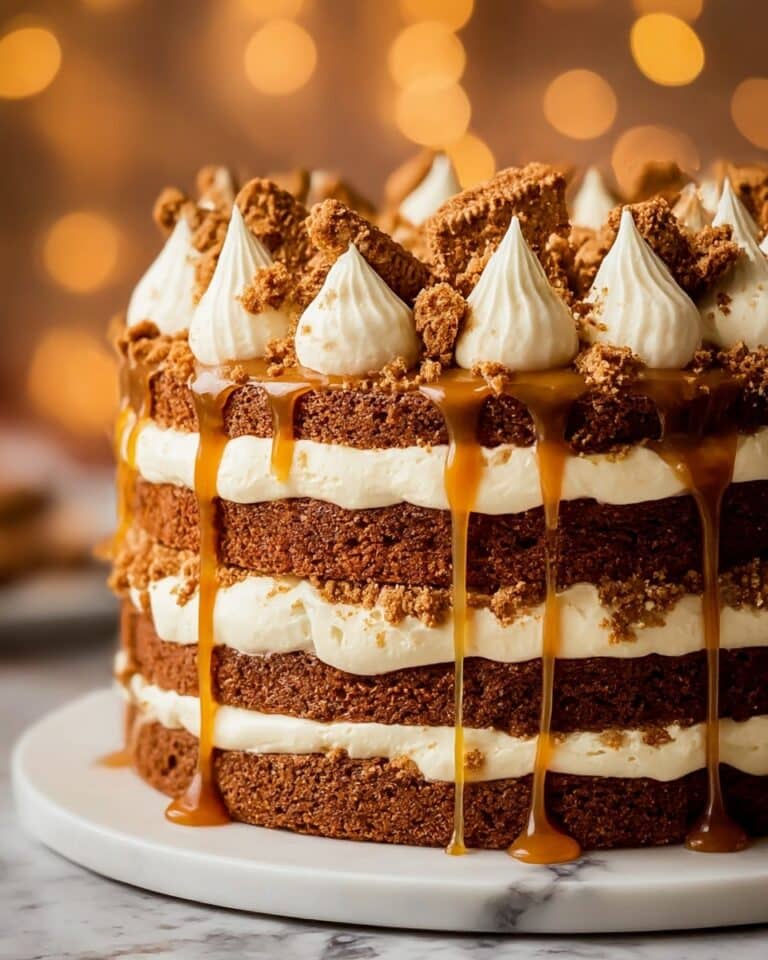
- Step 6: Before serving, run a knife around the edge of the chilled cheesecake and release the springform. Drizzle generously with salted caramel sauce and garnish with whole or crushed cookies from the second package. Optionally, add warmed Biscoff spread or whipped cream. Slice with a sharp, warm knife and serve immediately.
Tips & Variations
- Use melted butter to bind the crust crumbs for the best texture and stability.
- For a richer caramel flavor, consider making your own salted caramel from scratch.
- If you prefer a lighter cheesecake, substitute half the cream cheese with ricotta cheese.
- Keep the Biscoff spread optional depending on your taste preference or ingredient availability.
Storage
Store leftover cheesecake in an airtight container in the refrigerator for up to 4-5 days. Reheat slices gently with a warm knife for clean cuts, but it’s best enjoyed chilled.
How to Serve
Serve this delicious recipe with your favorite sides.
FAQs
Can I make this cheesecake without a water bath?
While the water bath helps ensure even baking and prevents cracking, you can bake without it. Cover the pan loosely with foil and bake at a lower temperature, but the texture may be slightly different.
Can I freeze the Biscoff Salted Caramel Cheesecake?
Yes, wrap the cheesecake tightly in plastic wrap and foil and freeze for up to 2 months. Thaw overnight in the refrigerator before serving. Add caramel topping fresh after thawing for best results.
Print
Biscoff Salted Caramel Cheesecake Recipe
- Total Time: 10 hours 5 minutes
- Yield: 12 servings 1x
Description
This decadent Biscoff Salted Caramel Cheesecake combines the rich, creamy texture of classic cheesecake with the warm, spiced flavors of Lotus Biscoff cookies and a luscious salted caramel topping. A perfectly baked crust made from crushed Biscoff cookies adds a satisfying crunch, while the smooth cream cheese filling is enhanced by velvety salted caramel drizzle, making it a crowd-pleasing dessert for any occasion.
Ingredients
Crust
- 2 packages Lotus Biscoff cookies (about 440g total)
- 5 tablespoons unsalted butter, melted
Cheesecake Filling
- 24 oz (680g) full-fat cream cheese, softened
- 1 cup (200g) granulated sugar
- 3 large eggs, room temperature
- 1 cup (240ml) heavy cream
- 1 teaspoon pure vanilla extract
- Optional: 1/4 cup (60g) Lotus Biscoff spread
Salted Caramel Sauce
- 1 jar (about 12 oz/340g) store-bought salted caramel sauce (or homemade)
- For homemade (optional): 1 cup heavy cream, 1 cup granulated sugar, 6 tablespoons unsalted butter, 1 teaspoon sea salt
Instructions
- Prepare the Biscoff Crust: Preheat your oven to 175°C (350°F). Line the bottom of a 9-inch (23cm) springform pan with parchment paper, and wrap the outside with two layers of foil to prevent leaks. Crush one package of Lotus Biscoff cookies finely, then mix the crumbs with 5 tablespoons of melted unsalted butter until well combined. Press this mixture firmly onto the bottom and slightly up the sides of the springform pan. Bake the crust for 8-10 minutes until it turns lightly golden. Reduce the oven temperature to 160°C (325°F) for the cheesecake bake.
- Craft the Creamy Cheesecake Filling: If desired, prepare a water bath to bake the cheesecake gently. In a stand mixer, beat the softened cream cheese for 2-3 minutes until completely smooth and lump-free. Gradually add granulated sugar, continuing to beat until the mixture is light and fluffy. Lower the speed and add eggs one at a time, mixing just enough to incorporate each. Gently fold in heavy cream, vanilla extract, and optional Biscoff spread until fully combined. Pour this filling over the pre-baked crust and lightly tap the pan to remove any air bubbles.
- Bake and Cool the Cheesecake: Place the foil-wrapped springform pan into a large roasting pan. Pour hot water into the roasting pan to reach halfway up the sides of the springform pan to create a water bath. Bake the cheesecake for 60-80 minutes until the outer edges are set but the center still jiggles slightly when gently shaken (about 2-3 inches or 5-7cm wide). Turn off the oven, keep the cheesecake inside with the door slightly open for 1 hour to cool slowly. Remove the cheesecake from the water bath and foil, then cool it on a wire rack for 2-3 hours until it reaches room temperature. Cover loosely and refrigerate for at least 6-8 hours or overnight for the best texture.
- Prepare the Salted Caramel Sauce: If using store-bought salted caramel, warm it slightly to make it easy to drizzle. For homemade sauce, combine 1 cup granulated sugar with a few tablespoons of water in a heavy-bottom saucepan over medium-high heat. Cook without stirring until it turns a deep amber color. Remove from heat carefully and slowly whisk in 1 cup warmed heavy cream until smooth. Stir in 6 tablespoons unsalted butter and 1 teaspoon sea salt until fully incorporated. Allow the sauce to cool at room temperature to thicken to a pourable consistency.
- Assemble and Garnish: Once the cheesecake is fully chilled, run a thin knife around the springform pan edge to loosen the sides, then release the collar. Generously drizzle the salted caramel sauce over the top. Garnish with additional whole or crushed Biscoff cookies from the second package. Optionally, drizzle with warmed Biscoff spread or add whipped cream dollops for extra indulgence. Slice with a warm, sharp knife for clean edges and serve immediately. Store leftovers in an airtight container in the refrigerator for up to 4-5 days.
Notes
- Melted butter is necessary to bind the crust; use unsalted for best control over saltiness.
- Room temperature eggs and cream cheese prevent lumps and ensure smooth filling.
- Using a water bath helps prevent cracks and promotes even baking of cheesecake.
- Allowing cheesecake to cool gradually in the oven helps maintain a creamy texture.
- Use a warm knife dipped in hot water to slice cheesecake cleanly.
- Store-bought salted caramel saves time but homemade adds a rich, fresh flavor.
- Wrapping the springform pan with foil prevents water leaks during the water bath bake.
- Prep Time: 25 minutes
- Cook Time: 80 minutes
- Category: Dessert
- Method: Baking
- Cuisine: American
Keywords: Biscoff cheesecake, salted caramel cheesecake, Lotus Biscoff dessert, creamy cheesecake recipe, easy cheesecake, caramel sauce dessert