
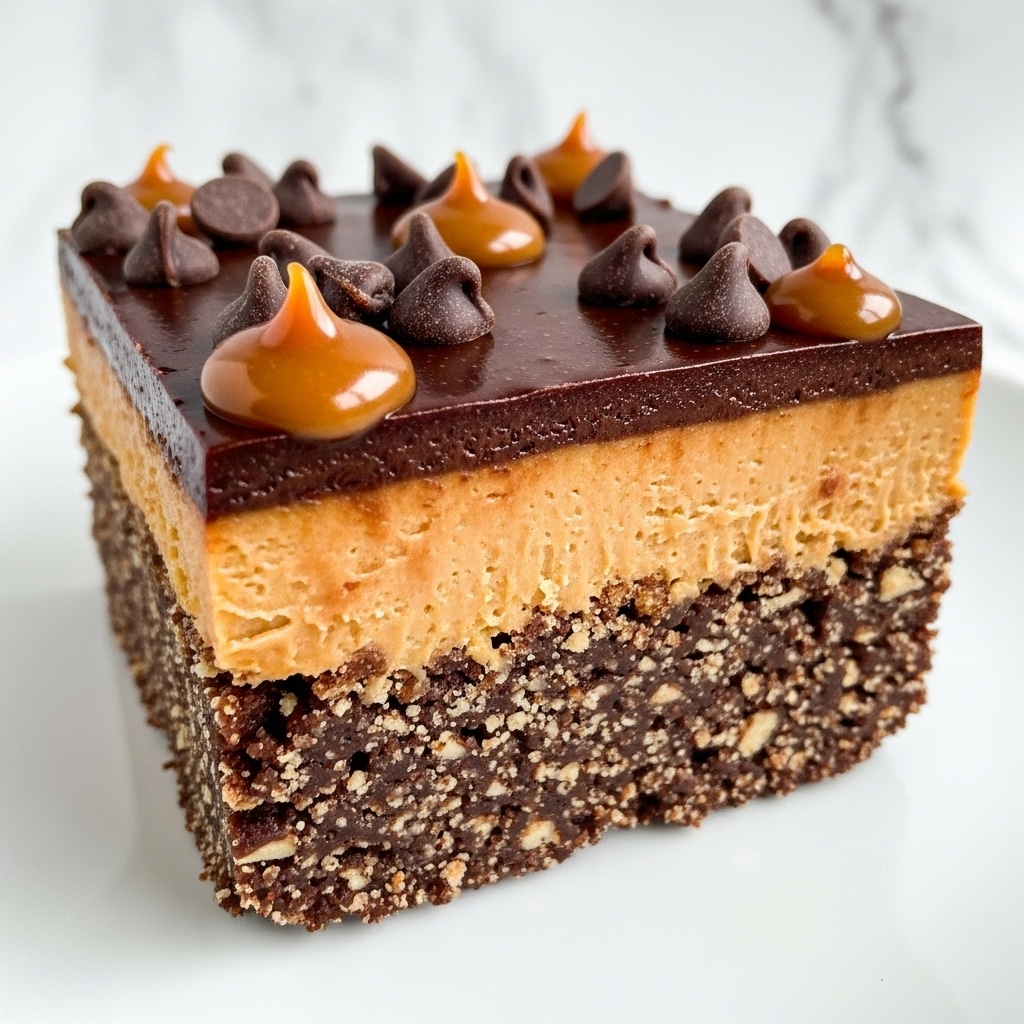
Chocolate Peanut Butter Poke Cake Recipe
Introduction
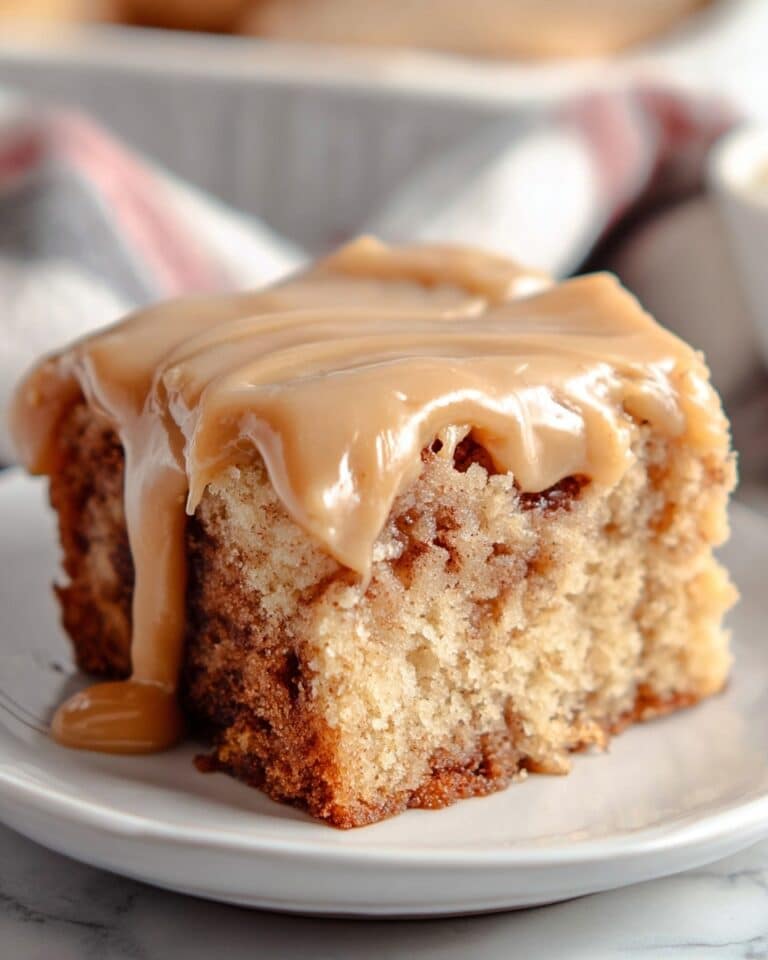
This Chocolate Peanut Butter Poke Cake is a delightful dessert that combines rich chocolate and creamy peanut butter in every bite. Moist and flavorful, it’s perfect for parties or a special treat at home.

Ingredients
- 1 box (425 g) chocolate cake mix (plus ingredients listed on the box, typically eggs, oil, and water)
- 1 cup (250 ml) creamy peanut butter
- 1 can (14 oz / 397 g) sweetened condensed milk
- ½ cup (125 ml) creamy peanut butter, melted
- 1 container (8 oz / 225 g) whipped topping (like Cool Whip), thawed
- ½ cup (50 g) mini chocolate chips or chocolate shavings (optional)
- ½ cup (75 g) chopped Reese’s or peanut butter cups (optional)
Instructions
- Step 1: Preheat your oven according to the package directions for the cake mix. Grease and flour a 9×13-inch baking dish.
- Step 2: Prepare the cake mix according to the instructions on the box, then stir in 1 cup of creamy peanut butter until well combined. Pour the batter into the prepared baking dish.
- Step 3: Bake the cake as directed on the box, usually for 30–35 minutes. Let the cake cool in the pan for about 15 minutes.
- Step 4: Use the handle of a wooden spoon or a skewer to poke holes all over the cake, spacing them about 1 inch apart.
- Step 5: In a medium bowl, whisk together the sweetened condensed milk and the melted ½ cup of peanut butter until smooth. Pour this mixture evenly over the cake, allowing it to soak into the holes.
- Step 6: Refrigerate the cake for at least 1 hour to let the filling set.
- Step 7: Spread the thawed whipped topping evenly over the chilled cake.
- Step 8: Sprinkle mini chocolate chips and chopped Reese’s or peanut butter cups on top if desired, then slice and serve chilled.
Tips & Variations
- For a richer flavor, use natural peanut butter and reduce the sugar in the cake mix slightly.
- Try substituting the whipped topping with homemade whipped cream for a fresher taste.
- Add a pinch of sea salt on top before serving to enhance the peanut butter and chocolate flavors.
- Use crushed pretzels instead of candy cups for a crunchy twist.
Storage
Store the cake covered in the refrigerator for up to 4 days. Keep it chilled to maintain the creamy texture, and if needed, let it sit at room temperature for 10 minutes before serving for easier slicing.
How to Serve
Serve this delicious recipe with your favorite sides.
FAQs
Can I use homemade chocolate cake instead of a cake mix?
Yes, you can use your favorite homemade chocolate cake recipe. Just ensure it’s sturdy enough to hold the filling when poked with holes.
Is it necessary to refrigerate the cake before adding the whipped topping?
Yes, chilling helps the sweetened condensed milk and peanut butter mixture set properly, preventing the whipped topping from melting or sliding off.
Print
Chocolate Peanut Butter Poke Cake Recipe
- Total Time: 1 hour 50 minutes
- Yield: 12 servings 1x
Description
This Chocolate Peanut Butter Poke Cake is a decadent and easy-to-make dessert that combines rich chocolate cake with creamy peanut butter flavors. Moist and flavorful, the cake is baked with peanut butter in the batter, then poked and filled with a sweetened condensed milk and peanut butter mixture that soaks into every bite. Topped with whipped cream and optional chocolate chips and peanut butter cup pieces, this dessert is perfect for any chocolate and peanut butter lover and ideal for gatherings or special occasions.
Ingredients
Cake Batter
- 1 box (425 g) chocolate cake mix (plus ingredients listed on the box, typically eggs, oil, and water)
- 1 cup (250 ml) creamy peanut butter
Filling
- 1 can (14 oz / 397 g) sweetened condensed milk
- ½ cup (125 ml) creamy peanut butter, melted
Topping
- 1 container (8 oz / 225 g) whipped topping (like Cool Whip), thawed
- ½ cup (50 g) mini chocolate chips or chocolate shavings (optional)
- ½ cup (75 g) chopped Reese’s or peanut butter cups (optional)
Instructions
- Prepare the Cake: Preheat your oven according to the package directions for the cake mix. Grease and flour a 9×13-inch baking dish to ensure the cake does not stick after baking.
- Bake the Cake: Prepare the cake mix according to the instructions on the box, but stir in 1 cup of creamy peanut butter into the cake batter until well combined. Pour the batter into the prepared baking dish and bake as directed (usually 30–35 minutes). Once baked, allow the cake to cool in the pan for about 15 minutes to set slightly.
- Poke the Cake: Using the handle of a wooden spoon or a skewer, poke holes all over the surface of the cake about 1 inch apart. This will allow the filling to seep deeply into the cake for extra moisture and flavor.
- Make the Filling: In a medium bowl, whisk together the sweetened condensed milk and the melted ½ cup of peanut butter until smooth and creamy. Pour this mixture evenly over the cake, ensuring it spreads into the holes and soaks into the cake layers.
- Chill the Cake: Place the cake in the refrigerator for at least 1 hour. This chilling time allows the peanut butter mixture to set and absorb fully, enhancing the texture and taste.
- Top the Cake: Spread the thawed whipped topping evenly over the chilled cake to create a light and fluffy finishing layer.
- Add the Toppings: If desired, sprinkle mini chocolate chips and chopped Reese’s or peanut butter cups over the whipped topping for added texture and flavor contrast.
- Serve: Slice the cake into squares and serve chilled for the best flavor and texture experience.
Notes
- For best results, allow the cake to chill fully so the filling sets nicely inside the holes.
- You can substitute regular peanut butter with natural peanut butter, but expect a slight difference in texture.
- If you prefer a less sweet dessert, consider using light sweetened condensed milk.
- Optionally, decorate the top with additional chopped nuts or a drizzle of melted chocolate for an extra special touch.
- Store leftovers in an airtight container in the refrigerator for up to 3 days.
- Prep Time: 15 minutes
- Cook Time: 35 minutes
- Category: Dessert
- Method: Baking
- Cuisine: American
Keywords: chocolate peanut butter poke cake, easy poke cake, peanut butter dessert, chocolate cake, whipped topping dessert


