
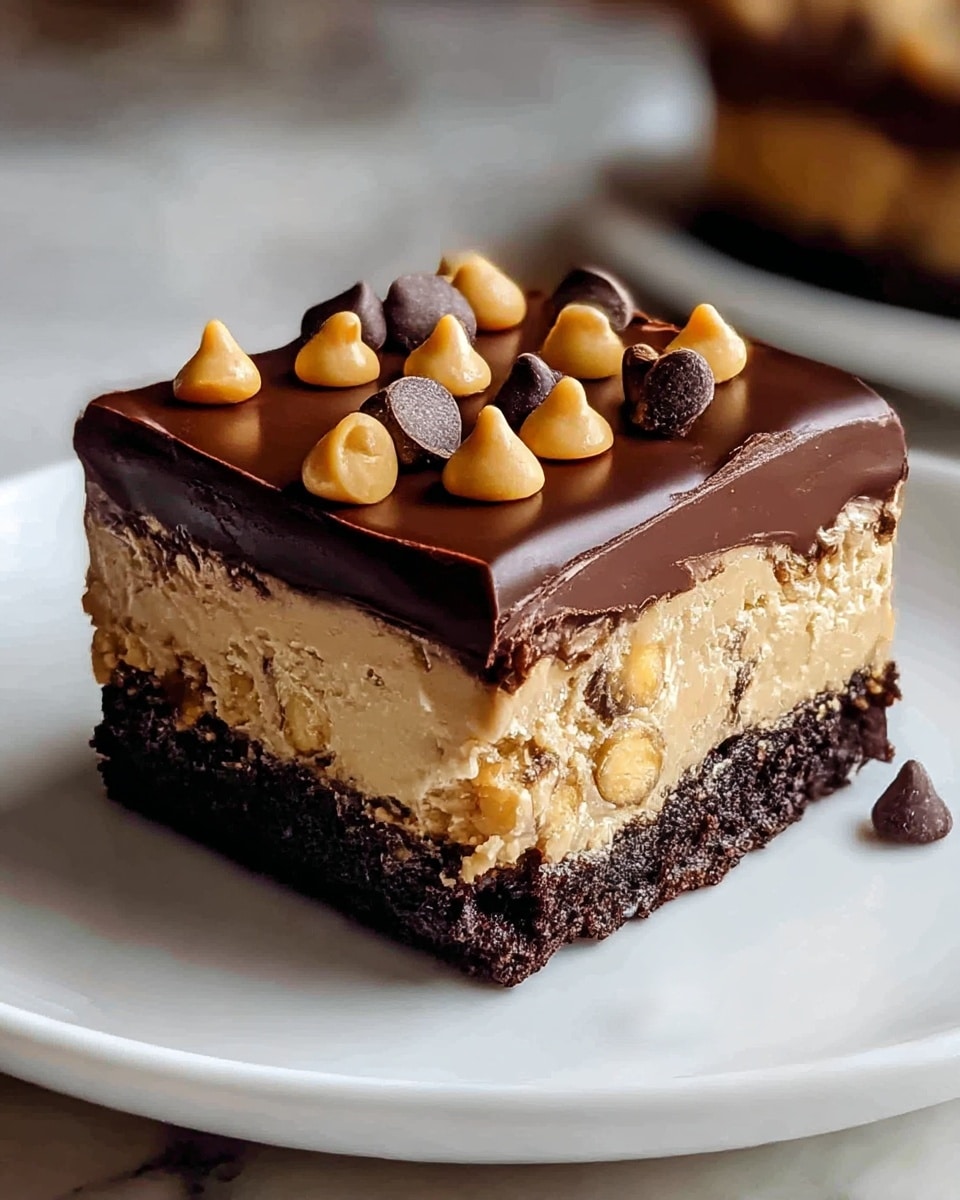
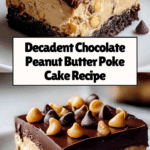
Chocolate Peanut Butter Poke Cake Recipe
Introduction
This Chocolate Peanut Butter Poke Cake is a delightful dessert combining rich chocolate and creamy peanut butter flavors. It’s moist, easy to make, and perfect for any occasion where you want a sweet treat that impresses.
Ingredients
- 1 box (425 g) chocolate cake mix (plus ingredients listed on the box: eggs, oil, and water)
- 1 cup (250 ml) creamy peanut butter
- 1 can (14 oz / 397 g) sweetened condensed milk
- 0.5 cup (125 ml) creamy peanut butter, melted
- 1 container (8 oz / 225 g) whipped topping, thawed
- 0.5 cup (50 g) mini chocolate chips or chocolate shavings (optional)
- 0.5 cup (75 g) chopped Reese’s or peanut butter cups (optional)
Instructions
- Step 1: Preheat your oven according to the directions on the cake mix box. Grease and lightly flour a 9×13-inch baking dish. Prepare the cake mix as directed, then stir in 1 cup of creamy peanut butter. Mix until smooth and pour into the prepared dish. Bake as instructed, typically 30–35 minutes.
- Step 2: Allow the cake to cool for about 15 minutes. Using the handle of a wooden spoon or skewer, poke holes evenly over the surface—about 1 inch apart.
- Step 3: In a bowl, whisk together sweetened condensed milk and melted peanut butter until smooth and pourable. Slowly pour the mixture over the cake, letting it fill all the holes. Let the cake absorb the filling completely.
- Step 4: Refrigerate for at least 1 hour to let the flavors blend and the filling firm up slightly.
- Step 5: Spread the whipped topping evenly over the chilled cake using a spatula. Make sure it covers the surface completely for a smooth layer.
- Step 6: Sprinkle the top with mini chocolate chips and chopped peanut butter cups for extra flavor and crunch, if desired. Slice into squares and serve chilled.
Tips & Variations
- For a nuttier flavor, substitute creamy peanut butter with crunchy peanut butter or almond butter.
- Add a tablespoon of instant coffee powder to the cake mix to enhance the chocolate taste.
- Use homemade whipped cream instead of store-bought whipped topping for a fresher finish.
- If you prefer a dairy-free version, opt for dairy-free condensed milk and whipped topping alternatives.
Storage
Store the cake covered in the refrigerator for up to 3 days. Keep it chilled to maintain the creamy texture. When ready to serve, you can enjoy it cold or let it sit at room temperature for 10–15 minutes for a softer feel. Avoid freezing, as it may alter the texture of the whipped topping.
How to Serve

Serve this delicious recipe with your favorite sides.
FAQs
Can I use homemade chocolate cake instead of a mix?
Absolutely! Homemade chocolate cake works well too. Just ensure it’s sturdy enough to hold the poke and filling without falling apart.
What can I substitute for the sweetened condensed milk?
You can make a homemade version by simmering evaporated milk with sugar until thickened, or use a dairy-free condensed milk alternative for a vegan option.
Print
Chocolate Peanut Butter Poke Cake Recipe
- Total Time: 1 hour 50 minutes
- Yield: 12 servings 1x
Description
This Chocolate Peanut Butter Poke Cake combines the rich flavors of chocolate cake with creamy peanut butter in a unique poke-and-fill method, resulting in a moist, decadent dessert topped with whipped cream and chocolate accents. It’s perfect for chocolate and peanut butter lovers looking for an easy-to-make, crowd-pleasing treat.
Ingredients
Cake
- 1 box (425 g) chocolate cake mix (plus ingredients listed on the box: eggs, oil, and water)
- 1 cup (250 ml) creamy peanut butter
Filling
- 1 can (14 oz / 397 g) sweetened condensed milk
- 0.5 cup (125 ml) creamy peanut butter, melted
Topping
- 1 container (8 oz / 225 g) whipped topping, thawed
- 0.5 cup (50 g) mini chocolate chips or chocolate shavings (optional)
- 0.5 cup (75 g) chopped Reese’s or peanut butter cups (optional)
Instructions
- Prepare and Bake the Cake: Preheat your oven according to the directions on the cake mix box. Grease and lightly flour a 9×13-inch baking dish. Prepare the cake mix as directed on the box, then stir in 1 cup of creamy peanut butter until the batter is smooth. Pour the batter into the prepared dish and bake as instructed, typically for 30–35 minutes.
- Cool and Poke the Cake: Allow the baked cake to cool for about 15 minutes. Using the handle of a wooden spoon or a skewer, poke holes evenly over the surface about 1 inch apart, ensuring the holes penetrate through the cake.
- Prepare and Pour the Filling: In a bowl, whisk together the sweetened condensed milk and the melted peanut butter until smooth and pourable. Slowly pour this mixture over the cake, allowing it to fill all the holes evenly. Let the cake absorb the filling completely for best flavor.
- Chill the Cake: Place the cake in the refrigerator and chill for at least 1 hour. This allows the flavors to meld and the filling to firm up slightly.
- Add the Whipped Topping: Remove the chilled cake from the fridge and spread the whipped topping evenly over the surface with a spatula, covering it completely to create a smooth layer.
- Decorate and Serve: Sprinkle mini chocolate chips and chopped Reese’s or peanut butter cups over the whipped topping for added texture and flavor. Slice the cake into squares and serve chilled for a refreshing, indulgent dessert.
Notes
- For a richer peanut butter flavor, use natural peanut butter without added sugars or oils.
- You can substitute whipped topping with homemade whipped cream if preferred.
- Allowing the cake to chill longer than one hour enhances the melding of flavors and moistness.
- Optional toppings add texture and peanut butter-chocolate contrast but can be omitted for a simpler presentation.
- Prep Time: 15 minutes
- Cook Time: 35 minutes
- Category: Dessert
- Method: Baking
- Cuisine: American
Keywords: Chocolate peanut butter poke cake, chocolate cake, peanut butter dessert, poke cake, easy chocolate cake recipe, creamy peanut butter cake, no-frosting cake


