
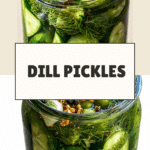
How to Make Dill Pickles Recipe
If you’ve ever bitten into a crisp, tangy pickle and thought, “How do they do it?”—you’re about to find out! Learning How to Make Dill Pickles at home is not only easy, it’s incredibly satisfying. Fresh cucumbers transform into snappy, aromatic pickles with just a handful of ingredients and a bit of patience. These classic refrigerator or canned pickles are a perennial favorite, perfect for burgers, sandwiches, or snacking right from the jar. Let’s dive in to make your dream pickles a reality!
Ingredients You’ll Need
The beauty of homemade pickles lies in their simplicity. Each ingredient pulls its own weight, contributing a specific pop of flavor, satisfying bite, or lively color. Gather these essentials, and you’re halfway to pickle perfection!
- 2 1-pint wide-mouth mason jars with lids: Mason jars hold your pickles and allow for easy filling and cleaning; wide-mouth jars work best for fitting cucumber spears.
- 1 1/2 to 2 pounds small cucumbers (like Kirby): These cucumbers are crunchier and less watery, making for the best texture in your finished pickles.
- 3 cloves garlic: Garlic infuses the brine with robust, savory notes and a little extra bite.
- 1/2 tablespoon coriander seeds: Coriander adds brightness and a gentle citrusy undertone.
- 1 tablespoon whole peppercorns: Peppercorns lend gentle heat and complexity to the brine.
- 1 tablespoon kosher salt: Kosher salt is key for brining, drawing out moisture and amplifying flavors.
- 1/2 tablespoon sugar: Just a touch balances the sour and salty notes, for a well-rounded brine.
- 2/3 cup white vinegar: Vinegar provides signature tang and preserves your pickles beautifully.
- 1 1/3 cup water: Water dilutes the brine so it’s flavorful but not overpowering.
- 1 large handful fresh dill (or 2 teaspoons dill seeds): Dill is essential for that classic pickle aroma and taste—fresh dill gives a brighter flavor, but dill seeds work in a pinch.
How to Make How to Make Dill Pickles
Step 1: Prep and Clean Your Jars
To start, thoroughly wash your two mason jars and lids with hot, soapy water. Rinse them well and let them air dry. This crucial step helps ensure that your pickles stay fresh for as long as possible and prevents any unwanted bacteria that could spoil your batch. Clean jars are the secret to stress-free pickling!
Step 2: Prepare the Cucumbers and Garlic
Now, take your small cucumbers and quarter them lengthwise to make classic spear shapes. Slice off the tips so each spear nestles comfortably into the jars. Peel and halve the garlic cloves—cutting them releases more of their flavor into the brine, which is what makes the pickles so irresistible.
Step 3: Make the Brine
It’s time for the pickling magic! In a saucepan, combine coriander seeds, peppercorns, kosher salt, sugar, vinegar, and water. Whisk everything together over low heat just until the salt and sugar dissolve, which usually takes about a minute. This gently heated brine encourages all the flavors to mingle and bloom. Once dissolved, remove the pan from heat so you don’t overcook those subtle notes.
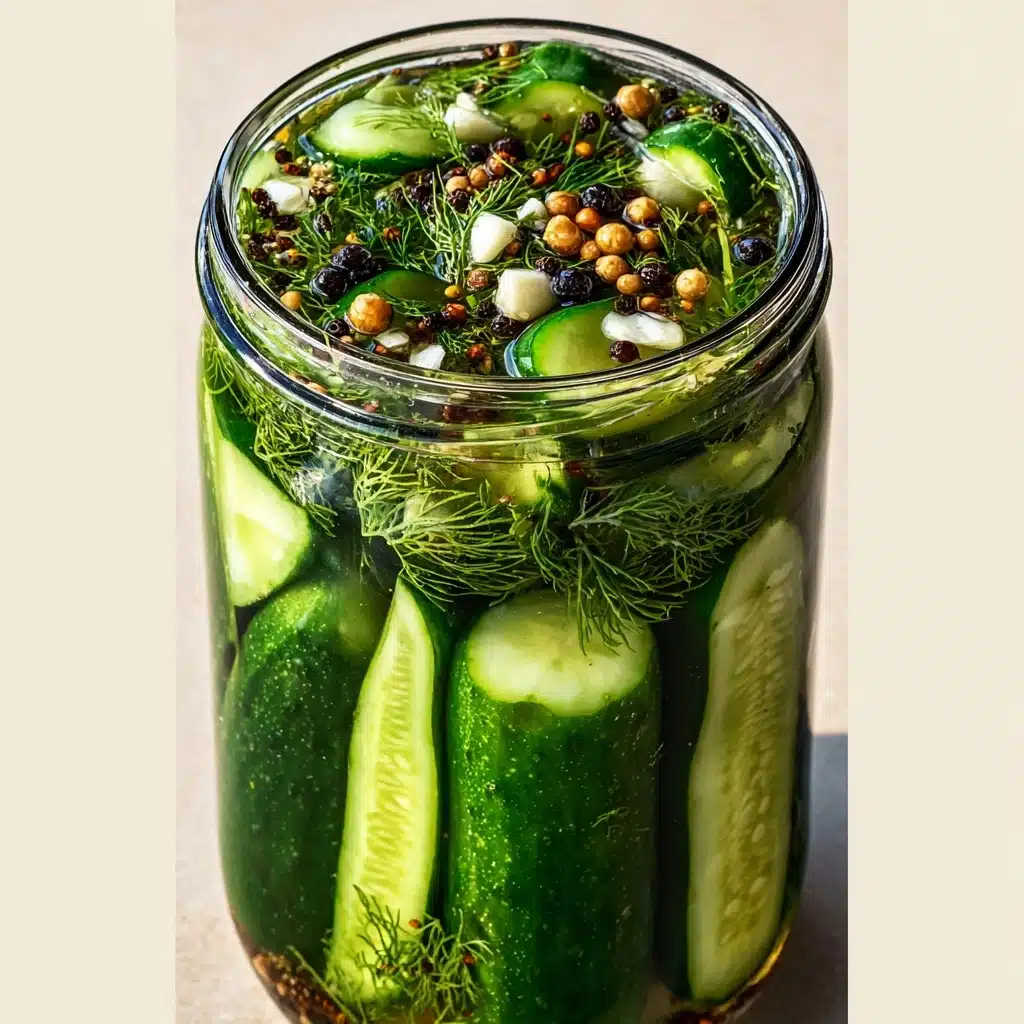
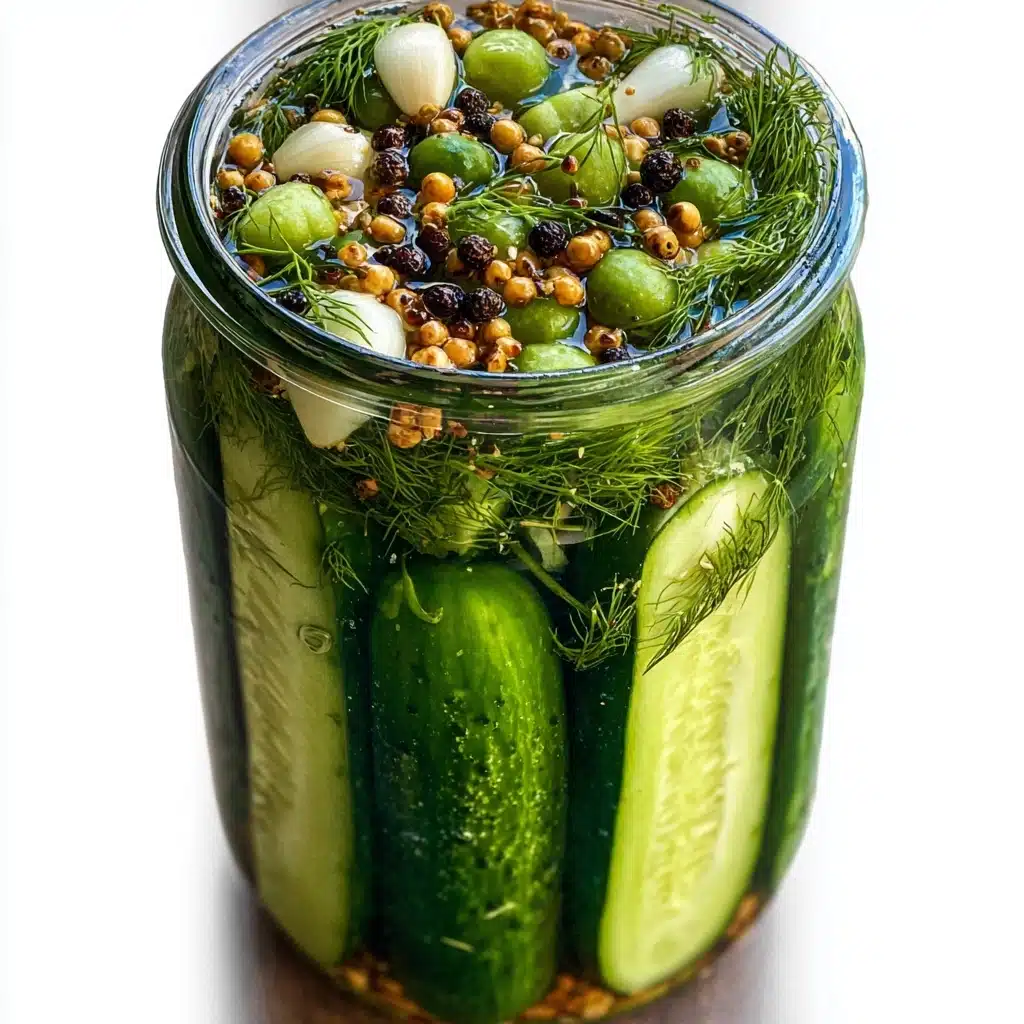
Step 4: Pack the Jars with Cucumber, Garlic, and Dill
Arrange the cucumber spears, garlic pieces, and generous handfuls of fresh dill snuggly into your jars. The tighter you pack them (without smashing!), the better your pickles will maintain their shape and crunch. Don’t be afraid to squeeze in more dill for that lush, green fragrance and flavor.
Step 5: Add the Brine
Pour the hot brine over your packed jars, ensuring every spear is submerged. Gently tap the jars on the counter to coax out air bubbles, then add a splash of extra water if necessary to cover any cucumbers peeking above the liquid. This step ensures every piece gets evenly pickled—the hallmark of a successful batch when you’re learning How to Make Dill Pickles.
Step 6: Seal the Jars
Wipe the rims of the jars dry, place the lids on top, and screw the rings until they’re just hand-tight. This helps lock in all that delicious flavor and keeps your brine where it belongs. If you’re opting for refrigerator pickles, you’re almost done! If you plan to can for shelf storage, hold tight for one more step.
Step 7: Choose Your Pickling Method
For refrigerator pickles: Let the jars chill in your fridge for 24 hours before sampling. The flavors will just begin to mingle, and the pickles stay fresh and crunchy for up to a month. For canned pickles: Place jars in a boiling water bath (using a rack to keep them above the pot’s base) for 10 minutes, then cool in the water for five minutes before moving to the counter and letting them reach room temperature. Store these in a cool spot for up to a year—if you can resist them for that long!
How to Serve How to Make Dill Pickles
Garnishes
For a burst of fresh flavor and pretty presentation, sprinkle a bit of extra chopped fresh dill and a few pink peppercorns over your How to Make Dill Pickles platter. A wedge of lemon or a dusting of cracked black pepper will dial up the zing.
Side Dishes
Dill pickles are a dream with classic pairings: lay them alongside grilled burgers, tuck them into a picnic basket next to fried chicken, or serve with deli sandwiches for that satisfying crunch. Their acidity and snap help cut through rich or spicy foods, making them a versatile addition to so many meals.
Creative Ways to Present
Show off your How to Make Dill Pickles by skewering spears onto cocktail sticks as a funky Bloody Mary garnish, or chop and swirl them through potato salad and chicken salad for a tangy upgrade. Tuck spears into a jar with a hand-written label for a heartfelt homemade gift—just add ribbon for instant charm!
Make Ahead and Storage
Storing Leftovers
After opening, store your pickles right in their jars in the refrigerator. Always keep the cucumbers submerged in brine for maximum shelf life; top off with water as needed. Refrigerator pickles stay crisp and vibrant for up to a month, while canned pickles last on a cool shelf for up to a year.
Freezing
Freezing is not recommended for How to Make Dill Pickles, as it significantly alters the texture, making them mushy rather than crisp. Stick with refrigeration or shelf-canning for that snappy bite you love.
Reheating
You won’t need to reheat these pickles, but if you want to use them in a warm dish, add them near the end of cooking so they keep their bright crunch. Try them chopped atop hot dogs or mixed into warm potato salads—just don’t simmer them in soups, or you’ll lose that lovely texture.
FAQs
Do I have to use Kirby cucumbers?
Kirby cucumbers are traditional because of their dense, crunchy flesh, but other small, firm cucumbers can work in a pinch. Avoid large, watery varieties for the best texture in your How to Make Dill Pickles.
Can I use dried dill instead of fresh?
Fresh dill offers bright, vibrant flavor, but if unavailable, substitute with 2 teaspoons of dill seeds per jar. Avoid using dried dill weed as it doesn’t impart the same punchy taste as seeds or fresh sprigs.
Is it safe to skip boiling the jars for refrigerator pickles?
Yes! If you’re making refrigerator pickles, meticulous washing with hot, soapy water is sufficient. Boiling is only necessary for shelf-stable, canned versions.
How soon can I eat the pickles after making them?
Your patience will be rewarded! You can taste them after 24 hours, but they’ll develop deeper flavor after a few days. A week in the fridge makes them truly irresistible.
Can I adjust the seasonings?
Absolutely. How to Make Dill Pickles is wonderfully adaptable—try adding red pepper flakes for heat, or seeds like mustard or fennel for a twist. Just keep the brine ratio the same for best preservation.
Final Thoughts
There’s nothing quite like the satisfying snap and homey aroma of a batch of homemade pickles. Whether you’re a longtime canning devotee or a curious first-timer, making How to Make Dill Pickles from scratch is an incredibly rewarding, mouthwatering adventure. So gather your ingredients and start pickling—your sandwiches, salads, and snacks are about to get a delicious upgrade!
Print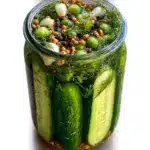
How to Make Dill Pickles Recipe
- Total Time: 1 day
- Yield: 2 pints 1x
- Diet: Vegetarian
Description
Learn how to make delicious homemade dill pickles that are perfect for snacking or adding to your favorite sandwiches. This easy recipe yields crunchy pickles with a flavorful blend of dill, garlic, and spices.
Ingredients
Cucumbers:
- 1 1/2 to 2 pounds small cucumbers (like Kirby)
Brine:
- 3 cloves garlic
- 1/2 tablespoon coriander seeds
- 1 tablespoon whole peppercorns
- 1 tablespoon kosher salt
- 1/2 tablespoon sugar
- 2/3 cup white vinegar
- 1 1/3 cup water
Additional:
- 1 large handful fresh dill (or 2 teaspoons dill seeds)
Instructions
- Prepare Jars: Wash mason jars and lids.
- Prepare Cucumbers: Quarter cucumbers lengthwise and cut garlic cloves in half.
- Make Brine: Combine coriander seeds, peppercorns, sugar, salt, vinegar, and water in a saucepan. Heat until dissolved.
- Fill Jars: Pack cucumbers, garlic, and dill into jars.
- Add Brine: Pour brine over cucumbers, remove air bubbles, and top with water if needed.
- Seal Jars: Wipe rims, seal with lids, and tighten rings.
- For Refrigerator Pickles: Refrigerate for 24 hours before enjoying.
- For Canned Pickles: Process jars in boiling water for 10 minutes, then cool and store.
Notes
- Adjust sugar and salt to taste preference.
- Experiment with adding spices like mustard seeds or red pepper flakes for variation.
- Prep Time: 20 minutes
- Cook Time: 10 minutes
- Category: Appetizer/Snack
- Method: Pickling
- Cuisine: American
Nutrition
- Serving Size: 1 pickle (about 50g)
- Calories: 15
- Sugar: 1g
- Sodium: 300mg
- Fat: 0g
- Saturated Fat: 0g
- Unsaturated Fat: 0g
- Trans Fat: 0g
- Carbohydrates: 3g
- Fiber: 1g
- Protein: 1g
- Cholesterol: 0mg
Keywords: Dill pickles, Homemade pickles, Canning pickles, Refrigerator pickles
