
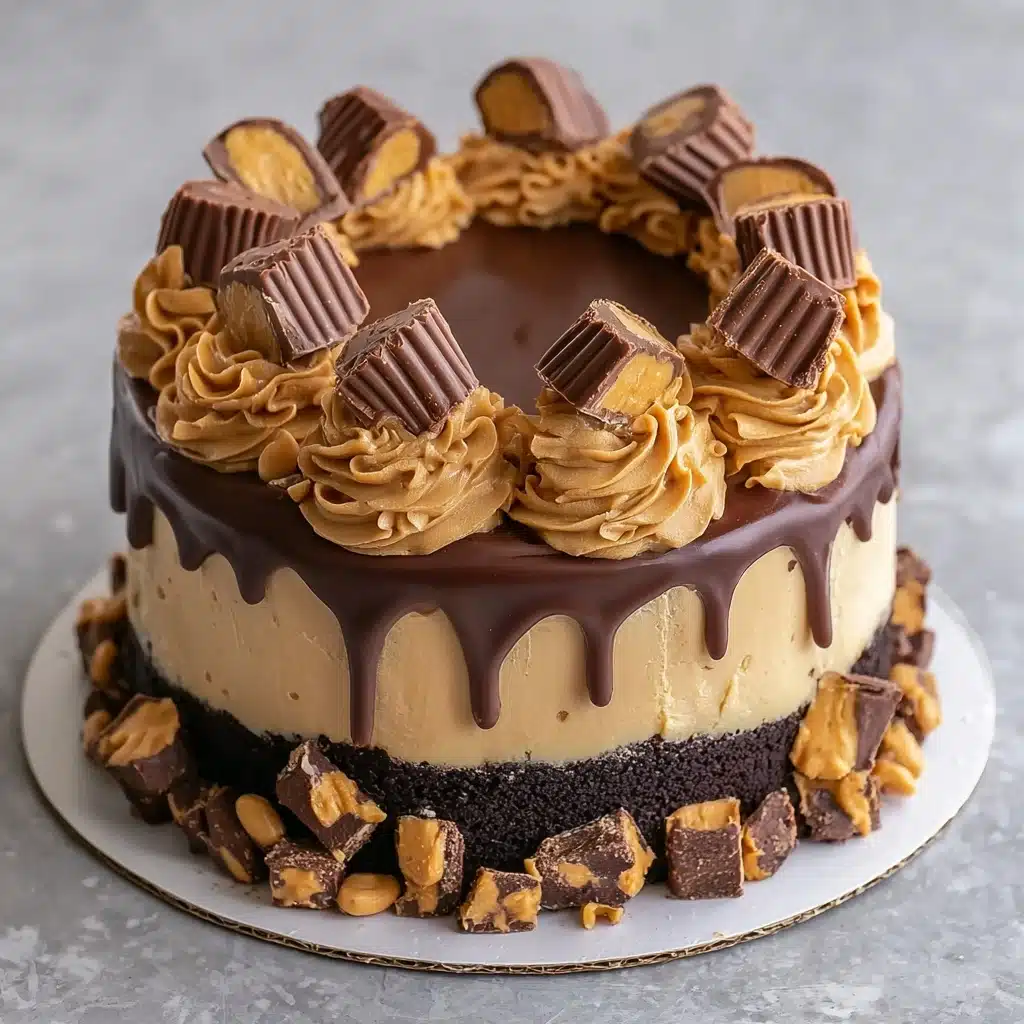
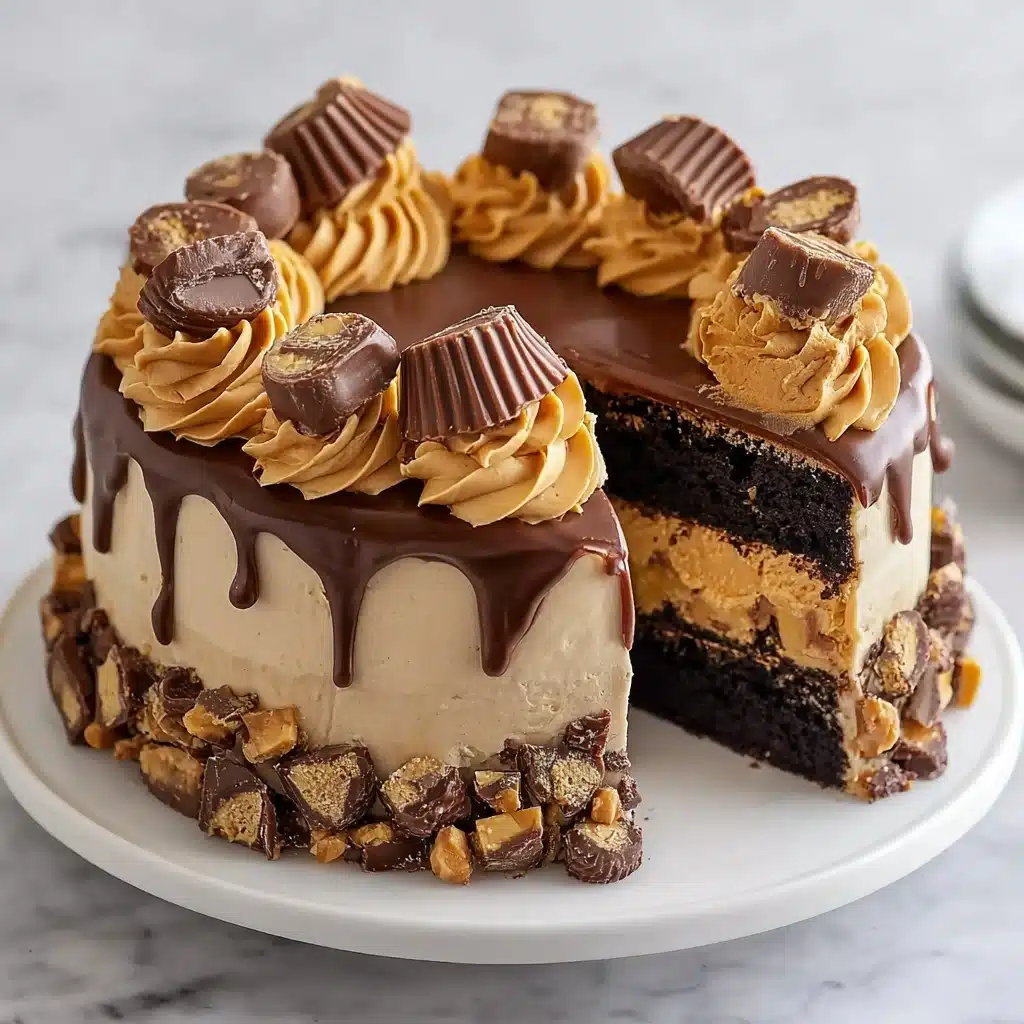
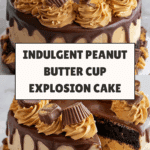
Peanut Butter Cup Explosion Cake Recipe
If there’s one dessert guaranteed to dazzle at your next gathering, it’s the Peanut Butter Cup Explosion Cake. This is more than just a chocolate cake; it’s an unapologetically bold fusion of rich chocolate, creamy peanut butter, and melty pockets of peanut butter cups in every bite. Each forkful brings waves of nostalgia and the sort of joy you only get from sharing something truly indulgent with your favorite people. Get ready to bake up excitement — this cake is a showstopper in both flavor and fun!
Ingredients You’ll Need
What makes the Peanut Butter Cup Explosion Cake so irresistible isn’t complicated — it’s a handful of kitchen staples paired with a few playful additions. Each ingredient plays a starring role, creating the ultimate harmony of moist cake and molten surprise. Let’s walk through the essentials:
- All-purpose flour: Gives the cake its soft yet sturdy crumb, holding up all those gooey mix-ins.
- Cocoa powder: Delivers deep, bold chocolate flavor in every bite.
- Baking soda & salt: Ensures the cake rises evenly and that the flavors truly pop.
- Granulated sugar: Balances the rich cocoa with perfect sweetness.
- Eggs: Binds all the ingredients and adds essential moisture.
- Milk: Keeps the cake tender and the crumb light.
- Oil: Guarantees a moist cake that stays fresh for days.
- Vanilla extract: Lifts and rounds out the flavors, making every ingredient shine.
- Hot water: Intensifies the cocoa and ensures the cake bakes up fluffy, not dense.
- Mini peanut butter cups: The secret to those indulgent, melty surprises in every slice!
- Chocolate chips and peanut butter chips: Turn the top of the cake into a delightful, textured crown (optional but highly recommended!).
How to Make Peanut Butter Cup Explosion Cake
Step 1: Prepare the Pan and Oven
Begin the magic by preheating your oven to 350°F (175°C). Give your trusty 9×13-inch baking pan a generous greasing so every piece of the Peanut Butter Cup Explosion Cake releases flawlessly when it’s time to serve.
Step 2: Combine Dry Ingredients
Grab your largest mixing bowl and whisk together the flour, cocoa powder, baking soda, salt, and sugar. This not only evenly distributes the leaveners but ensures every corner of the cake is choc-full of flavor.
Step 3: Mix in the Wet Ingredients
Crack in your eggs, pour in the milk, drizzle the oil, and add the vanilla extract right into the dry ingredients. Stir gently until all the streaks disappear and the batter looks thick and glossy. No need to over-mix—just until everything is happily combined.
Step 4: Stir in the Hot Water
This is the secret step! Pour in the hot water and mix. Don’t worry if the batter seems particularly runny; this is exactly what makes the Peanut Butter Cup Explosion Cake so soft and light when baked. Trust the process!
Step 5: Add Peanut Butter Cups to the Batter
Fold half of the mini peanut butter cups into the silky batter. These little gems will melt into ribbons of gooey, peanut buttery delight throughout the cake. Make sure they’re coated well for maximum chocolate-peanut butter fusion.
Step 6: Assemble and Bake
Spoon the batter into your prepared pan, smoothing it into an even layer. Take the rest of your mini peanut butter cups and gently press them into the top, spacing them out for even bursts of peanut butter surprise in each serving. Slide into the oven and bake for 30 to 35 minutes, or until a toothpick comes out just clean. The anticipation is half the fun!
Step 7: Cool and Decorate
Let the cake cool completely right in the pan—this helps it set up for clean slicing and allows the gooey centers to firm slightly. If you want the full “explosion” effect, sprinkle chocolate and peanut butter chips over the top just before serving. They’ll add a pop of color, extra flavor, and plenty of oohs and ahhs.
How to Serve Peanut Butter Cup Explosion Cake
Garnishes
There’s no such thing as too much when it comes to garnishing this cake. A generous layer of chocolate and peanut butter chips gives every bite crunch and extra decadence. For an over-the-top finish, drizzle warm peanut butter or chocolate syrup over each slice just before serving. Chopped roasted peanuts or even a dollop of whipped cream take it right over the top.
Side Dishes
A scoop of vanilla bean ice cream is a classic pairing, perfectly mellowing out the cake’s richness with creamy coolness. For a lighter touch, serve with fresh berries — strawberries and raspberries add a bright pop that balances out the deep flavors of the Peanut Butter Cup Explosion Cake. Don’t forget a tall glass of cold milk or hot coffee to round things out!
Creative Ways to Present
Cut the cake into generous squares or whimsical shapes using cookie cutters (especially fun for parties!). If you’re feeling extra, plate each slice with a swoosh of chocolate syrup or a sprinkle of edible gold dust for drama. Serve in individual ramekins for a personal touch, or stack warm pieces with ice cream for a Peanut Butter Cup Explosion Cake sundae everyone will remember.
Make Ahead and Storage
Storing Leftovers
If you find yourself with leftovers (which is rare!), simply cover the pan tightly with foil or transfer slices to an airtight container. The Peanut Butter Cup Explosion Cake keeps beautifully at room temperature for up to three days, staying moist and delicious.
Freezing
For longer storage, wrap individual slices in plastic wrap, then foil, and freeze them. Thaw overnight at room temperature or pop a slice in the microwave for a quick chocolate-peanut butter fix. Freezing doesn’t dull the fun—this cake emerges just as decadent as day one.
Reheating
To recapture the melty magic of just-baked cake, microwave a slice for 10-15 seconds. The centers will turn gooey and warm again, and if you happen to pair it with ice cream, you’ll have a dessert that tastes like it was just made!
FAQs
Can I use regular-sized peanut butter cups instead of mini?
Absolutely! Chop the regular-sized cups into quarters before mixing into the batter so you still get the same delightful pockets of peanut butter throughout every slice of Peanut Butter Cup Explosion Cake.
How do I know when the cake is done?
The top should feel springy, and a toothpick inserted into the center should come out mostly clean, with just a crumb or two attached. Some melted chocolate is fine — it all adds to the gooey appeal!
Can I make this cake gluten-free?
Yes! Substitute a 1:1 gluten-free all-purpose flour blend for the regular flour. The Peanut Butter Cup Explosion Cake stays moist and rich, so you won’t miss a thing.
Is it necessary to add the hot water?
Adding hot water is key — it blooms the cocoa for maximum chocolate flavor and keeps the cake irresistibly tender. Don’t skip this step if you want that signature light texture.
Can it be made ahead for parties?
Definitely! The cake is delicious made a day ahead. Just wait to add any final garnishes, like chips or sauces, until right before serving to keep everything fresh and dazzling.
Final Thoughts
If you’re ready for a crowd-pleaser that sparks pure joy, dive right in and bake the Peanut Butter Cup Explosion Cake. It’s the kind of treat people remember — bold, surprising, and deliciously over the top. Get your oven preheated, invite your favorite people, and let this cake be the highlight of your dessert table!
Print
Peanut Butter Cup Explosion Cake Recipe
- Total Time: 55 minutes
- Yield: 12 servings 1x
- Diet: Vegetarian
Description
Indulge in the ultimate peanut butter lover’s dream with this Peanut Butter Cup Explosion Cake. A rich chocolate cake loaded with gooey pockets of melted peanut butter cups, topped with a decadent mix of chocolate and peanut butter chips.
Ingredients
Dry Ingredients:
- 2 cups all-purpose flour
- 3/4 cup cocoa powder
- 1 1/2 tsp baking soda
- 1/2 tsp salt
- 2 cups granulated sugar
Wet Ingredients:
- 2 eggs
- 1 cup milk
- 1/2 cup oil
- 1 tsp vanilla extract
- 1 cup hot water
Additional Ingredients:
- 1 cup mini peanut butter cups
- 1/2 cup chocolate chips
- 1/2 cup peanut butter chips
Instructions
- Preheat Oven: Preheat oven to 350°F (175°C) and grease a 9×13-inch baking pan.
- Mix Dry Ingredients: In a large bowl, combine flour, cocoa powder, baking soda, salt, and sugar.
- Add Wet Ingredients: Mix in eggs, milk, oil, and vanilla extract until well combined.
- Thin Batter: Stir in hot water to thin out the batter, then fold in half of the peanut butter cups.
- Bake: Pour batter into the pan, top with remaining peanut butter cups, and bake for 30-35 minutes. Let cool.
- Final Touch: Sprinkle with chocolate and peanut butter chips before serving.
Notes
- For best results, use room temperature eggs.
- Prep Time: 20 minutes
- Cook Time: 35 minutes
- Category: Dessert
- Method: Baking
- Cuisine: American
Nutrition
- Serving Size: 1 slice
- Calories: 380
- Sugar: 28g
- Sodium: 320mg
- Fat: 18g
- Saturated Fat: 6g
- Unsaturated Fat: 10g
- Trans Fat: 0g
- Carbohydrates: 50g
- Fiber: 2g
- Protein: 6g
- Cholesterol: 30mg
Keywords: Peanut Butter Cup Cake, Chocolate Peanut Butter Cake, Gooey Cake Recipe
