
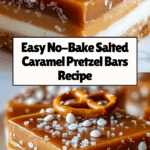
Quick No-Bake Salted Caramel Pretzel Bars Recipe
Introduction
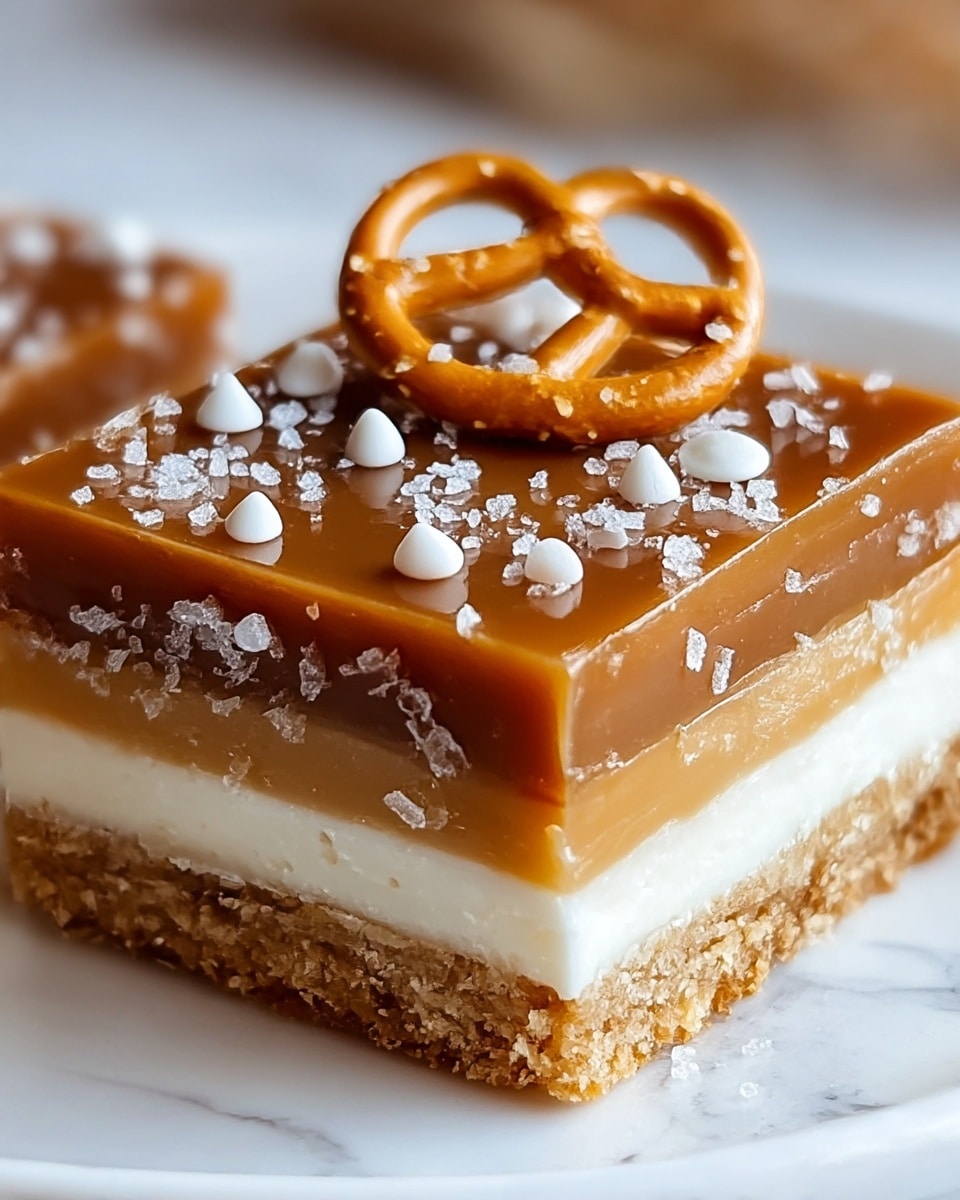
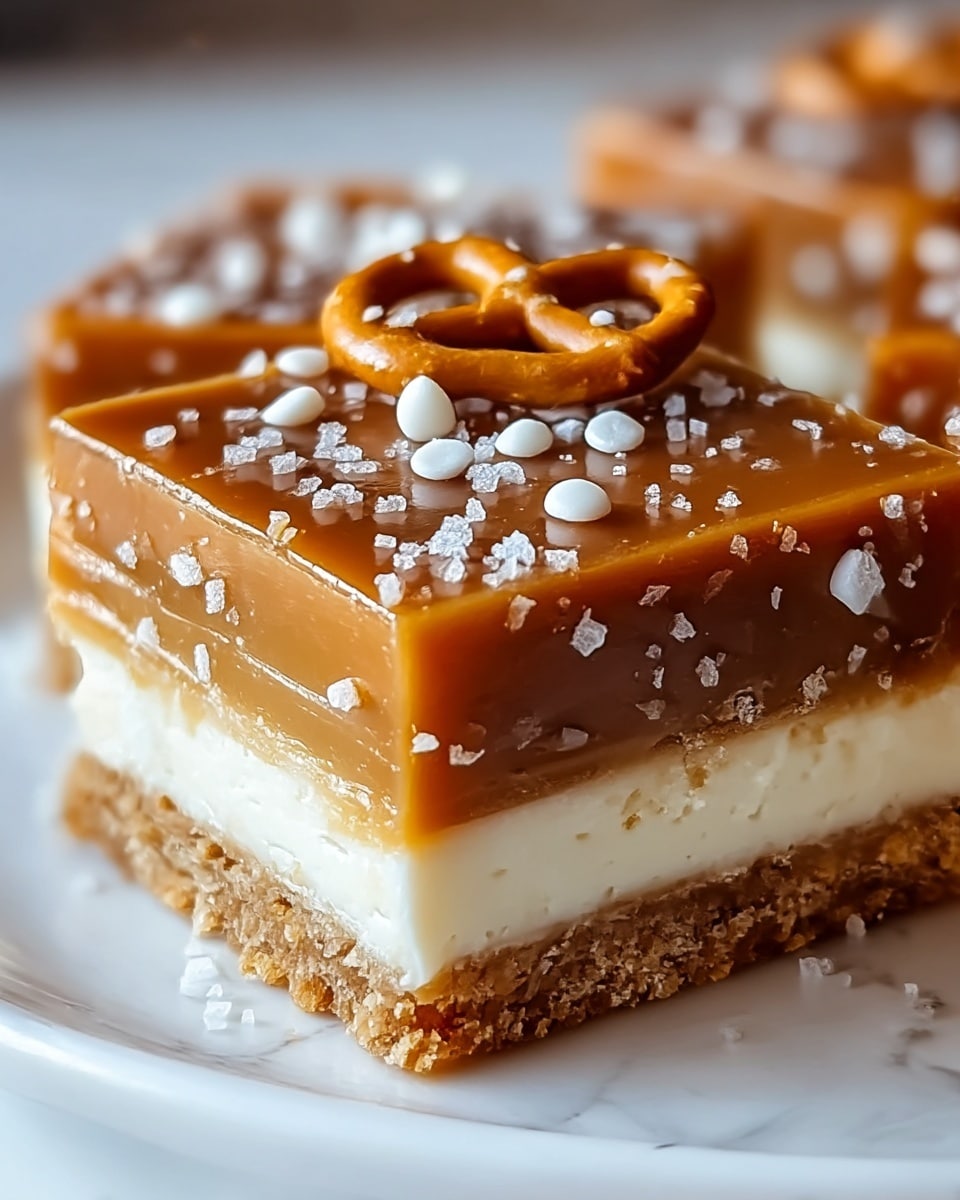
There’s nothing quite like the first bite of a sweet and salty treat, and these Quick No-Bake Salted Caramel Pretzel Bars are the ultimate indulgence for any craving. With the crunchy pretzel base and smooth salted caramel topping, this dessert is easy to prepare and delicious to enjoy anytime.
Ingredients
- 2 cups Pretzels (crushed)
- 1/2 cup Unsalted Butter (melted)
- 1 cup Salted Caramel Sauce (store-bought or homemade)
- 1/2 cup Chocolate (optional, melted)
Instructions
- Step 1: Line an 8×8-inch baking dish with parchment paper for easy removal.
- Step 2: In a mixing bowl, combine the crushed pretzels with melted unsalted butter until evenly coated.
- Step 3: Press the pretzel mixture firmly into the bottom of the prepared baking dish to form an even layer.
- Step 4: Drizzle the salted caramel sauce evenly over the pressed pretzel layer.
- Step 5: If using, melt the chocolate and drizzle it over the caramel layer for extra richness.
- Step 6: Refrigerate the assembled bars for at least 1 hour until they set firmly.
- Step 7: Once set, lift the bars out using the parchment paper and cut into squares to serve.
Tips & Variations
- For an extra twist, sprinkle sea salt on top of the chocolate before it sets to enhance the salted caramel flavor.
- You can substitute pretzels with crushed graham crackers for a different texture and flavor.
- Use homemade caramel sauce if you prefer a less sweet and more buttery taste.
- Store the bars in an airtight container in the fridge to keep them firm and fresh.
Storage
Store the bars in an airtight container in the refrigerator for up to one week. To enjoy, you can eat them cold or let them sit at room temperature for a few minutes to soften slightly. Avoid leaving them out for too long as the caramel may become sticky.
How to Serve
Serve this delicious recipe with your favorite sides.
FAQs
Can I make these bars vegan?
Yes, substitute the unsalted butter with a vegan butter alternative and use vegan caramel sauce and chocolate to make the bars dairy-free and vegan-friendly.
Do I have to use chocolate on top?
No, the chocolate drizzle is optional. The bars are delicious with just the salted caramel and pretzel base. Chocolate adds extra richness but can be omitted if preferred.
Print
Quick No-Bake Salted Caramel Pretzel Bars Recipe
- Total Time: 1 hour 10 minutes
- Yield: 9 bars (3×3 grid from an 8×8-inch pan) 1x
Description
These Quick No-Bake Salted Caramel Pretzel Bars offer the perfect sweet and salty indulgence. Combining the irresistible crunch of crushed pretzels with the silky richness of salted caramel and optional chocolate drizzle, these bars are a delightful treat that requires no baking. Ready in just over an hour, they are an easy-to-make snack or dessert perfect for satisfying cravings with minimal effort.
Ingredients
Base
- 2 cups Pretzels (crushed)
- 1/2 cup Unsalted Butter (melted)
Topping
- 1 cup Salted Caramel Sauce (store-bought or homemade)
- 1/2 cup Chocolate (optional, melted)
Instructions
- Prepare the baking dish: Line an 8×8-inch baking dish with parchment paper to ensure easy removal of the bars once set.
- Make the pretzel base: In a mixing bowl, combine the crushed pretzels with the melted unsalted butter. Mix thoroughly until the pretzels are evenly coated with the butter.
- Form the crust: Firmly press the pretzel and butter mixture into the bottom of the prepared baking dish, creating an even layer.
- Add the caramel layer: Drizzle the salted caramel sauce evenly over the pressed pretzel base to cover completely.
- Optional chocolate drizzle: If desired, melt the chocolate and drizzle it over the caramel layer for an extra touch of richness.
- Chill and set: Place the assembled baking dish in the refrigerator and chill for at least 1 hour to allow the bars to firm up.
- Serve: Once set, remove the bars from the dish using the parchment paper and cut into squares. Enjoy chilled.
Notes
- For a homemade caramel sauce, cook sugar, butter, and cream together until smooth and thickened.
- Use gluten-free pretzels to make this recipe gluten free.
- Store bars in an airtight container in the refrigerator for up to 5 days.
- Adding chopped nuts to the pretzel base can add extra crunch and flavor.
- Allow the chocolate to cool slightly before drizzling to prevent melting the caramel layer directly.
- Prep Time: 10 minutes
- Cook Time: 0 minutes
- Category: Dessert
- Method: No-Cook
- Cuisine: American
Keywords: No-bake, Salted caramel, Pretzel bars, Sweet and salty, Easy dessert, Quick snack, No-bake bars